How to Set Up a Bitcoin Node on Raspberry Pi: Step-by-Step Guide
- 29 Dec 2025
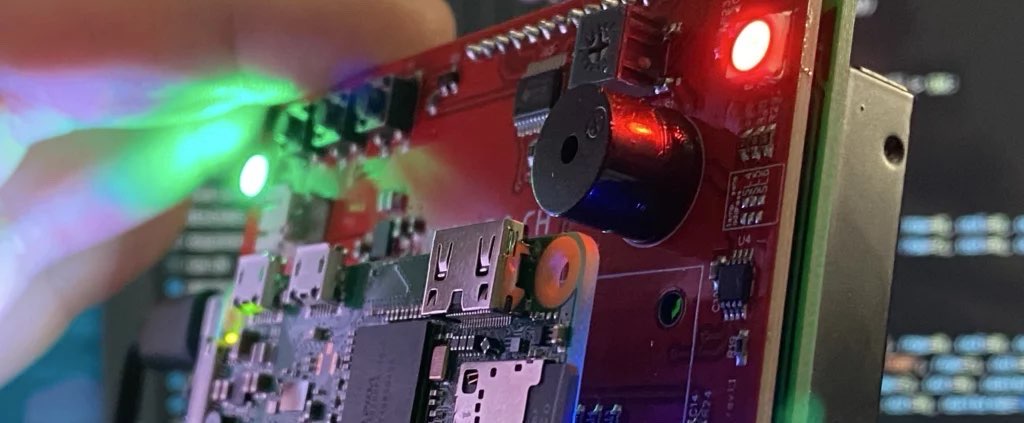
Running a Bitcoin node on a Raspberry Pi is an accessible way to contribute to the network while maintaining your privacy. This guide builds on the basics from our What Is a Bitcoin Node and Why You Need One article, focusing on a budget-friendly hardware setup.
Why Raspberry Pi for Your Bitcoin Node?
- Low Cost: Under $100 for the Pi 5 kit.
- Energy Efficient: Runs 24/7 without high electricity bills.
- Compact: Fits anywhere in your home.
- Enhances self-sovereignty, as discussed in our Bitcoin Privacy Best Practices guide.
Requirements
- Raspberry Pi 5 (4GB or 8GB model)
- 1TB microSD card or external SSD
- Stable internet connection
- Basic Linux knowledge (or follow our steps)
Step-by-Step Setup
- Install Raspberry Pi OS: Download from raspberrypi.com and flash to your microSD.
- Update System: Boot up, open terminal, run
sudo apt update && sudo apt upgrade. - Install Bitcoin Core: Add the Bitcoin PPA or download from bitcoincore.org. Verify signatures.
- Configure bitcoin.conf: Set pruned mode if space is limited (see our Best Hardware for Bitcoin Nodes for upgrades).
- Sync the Blockchain: Launch Bitcoin Core—it’ll take 2–10 days initially.
- Connect Your Wallet: Use Electrum or Sparrow, pointing to your node’s IP.
Troubleshooting Tips
- Slow sync? Check internet speed.
- Overheating? Add a heatsink.
- For advanced features, explore Lightning integration from Setting Up a Lightning Network Node.
Conclusion
This setup empowers you to run a node affordably. Link it with our core guide on Bitcoin nodes for full context.
Stay in the loop →
Powered by EverRank, and created by GalaxyBuilt
Get Weekly DeFi Alpha in Your Inbox
Weekly DeFi Alpha
56k+ traders getting my private newsletter every week
Join To Download our Ebook Free
Read Next_

Best Hardware for Running a Bitcoin Node in 2026: Reviews and Recommendations
Compare the top hardware options for Bitcoin nodes in 2026, from Raspberry Pi to dedicated servers. Focus on performance, cost, and privacy.

Genlayer: The "AI Co-Processor" for Blockchains and Your Ticket to the Future of Crypto Work
Genlayer brings verifiable AI intelligence to any blockchain using zkML, unlocking subjective prediction markets, on-chain credit scoring, dynamic NFTs, autonomous agents, and much more.

How to Set Up a Bitcoin Lightning Network Node: Beginner's Tutorial for 2026
Step-by-step instructions to set up a Lightning Network node on Bitcoin in 2026. Boost transaction speed and privacy while earning fees.