Cold Storage 101: The Essential Guide to Setting Up Your Ledger Nano S or X
- 11 Dec 2025
Mastering Self-Custody: A Complete Guide to Setting Up Your Ledger Hardware Wallet
A hardware wallet, often called cold storage, is the most secure way to protect your cryptocurrency. It keeps your private keys completely offline, providing a critical defense against online hacks and scams. This comprehensive guide walks you through the entire process of securely setting up and using a Ledger Nano S Plus or Ledger Nano X.
Key Security Principle: Self-custody means you are solely responsible for your funds. There is no customer support line to recover lost keys. This guide will help you get it right.
Why You Need a Hardware Wallet
Before we begin, it’s important to understand the “why.” Software wallets (like MetaMask or Exodus) are connected to the internet, making them vulnerable to malware, phishing attacks, and sophisticated wallet drainers. A hardware wallet like Ledger stores your private keys in a secure, offline chip. Transactions are signed inside the device and only the signed transaction is sent to your computer, meaning your keys never leave the safe environment.
This video showcases Ledger’s seamless integration with the Solana ecosystem, highlighting its modern capabilities for secure DeFi and NFT management.
Phase 1: Purchase and Initial Security Check
Where to Buy Your Ledger: The Most Critical Step
Your security chain is only as strong as its first link. Purchasing from an unauthorized source is one of the biggest risks in hardware wallet ownership.
Critical Warning: Never buy a Ledger from Amazon, eBay, or any third-party marketplace. These platforms carry a high risk of receiving a tampered, pre-owned, or maliciously pre-seeded device. If your device arrives with a pre-written recovery phrase, do not use it. Contact Ledger Support immediately.
The only safe way to purchase is directly from the official source.
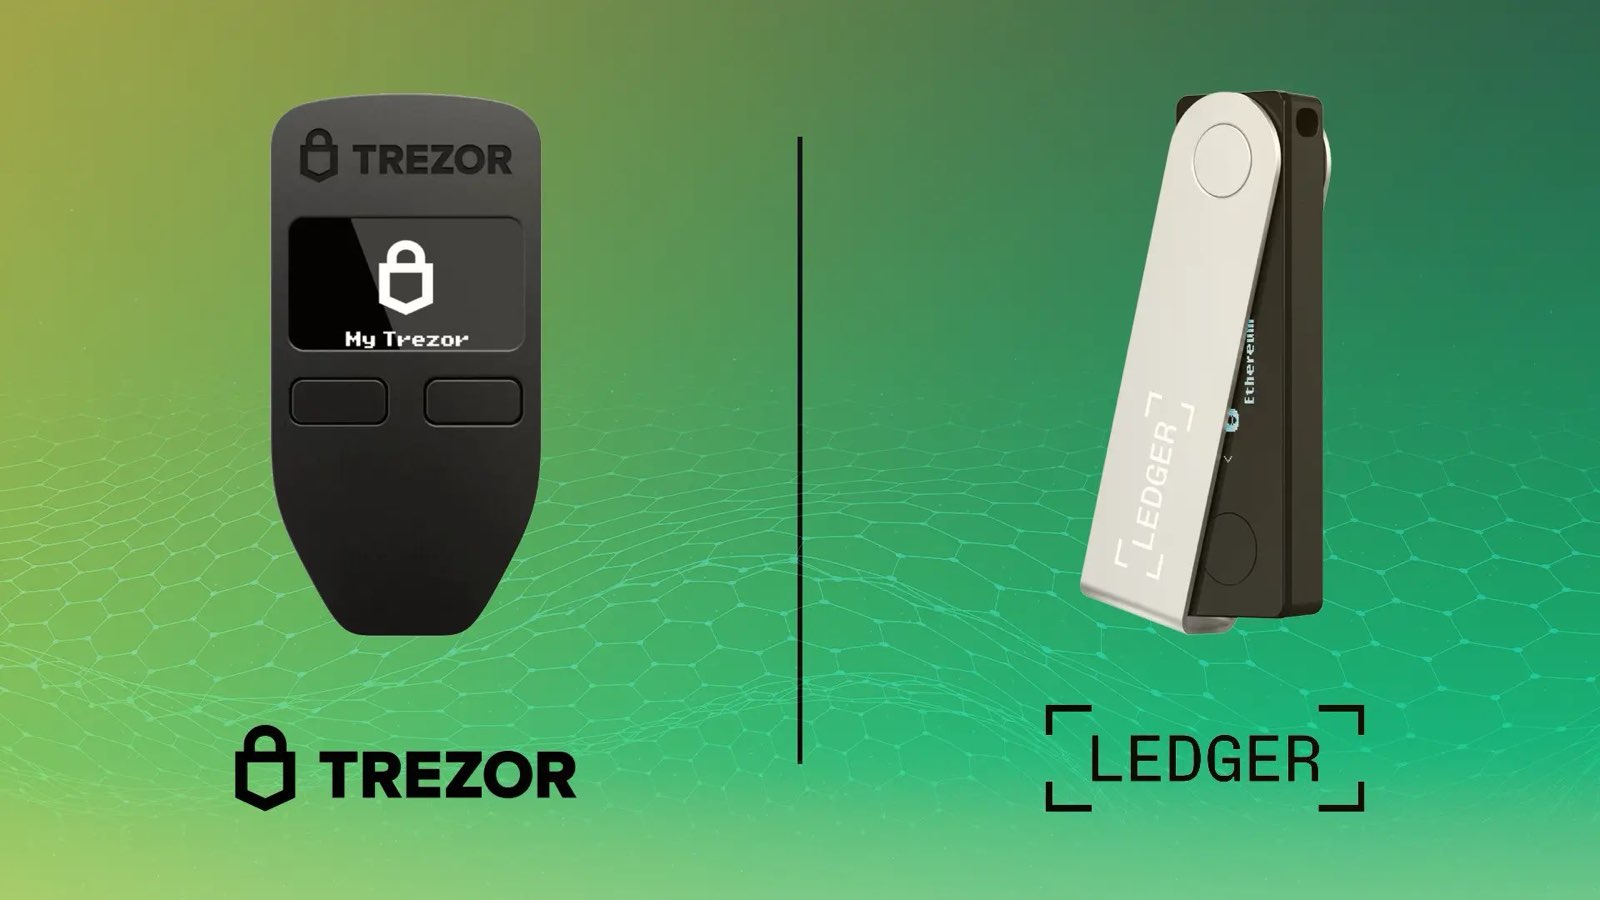
Ledger Model Comparison: Nano S Plus vs. Nano X
Choosing the right model depends on your needs and usage style. Here’s a breakdown of Ledger’s current main offerings.
| Model | Price (USD) | Key Features | Best For |
|---|---|---|---|
| Ledger Nano S Plus | $79 | USB-C connection, stores 100+ apps, compact design. | Desktop users, beginners, and those on a budget. |
| Ledger Nano X | $149 | Bluetooth & USB-C, internal battery, larger screen, mobile app support. | Users who trade on the go or prefer managing crypto from their phone. |
| Ledger Stax | $279+ | Large E-ink touchscreen, dedicated mobile companion. | Premium users who prioritize a superior interface. |
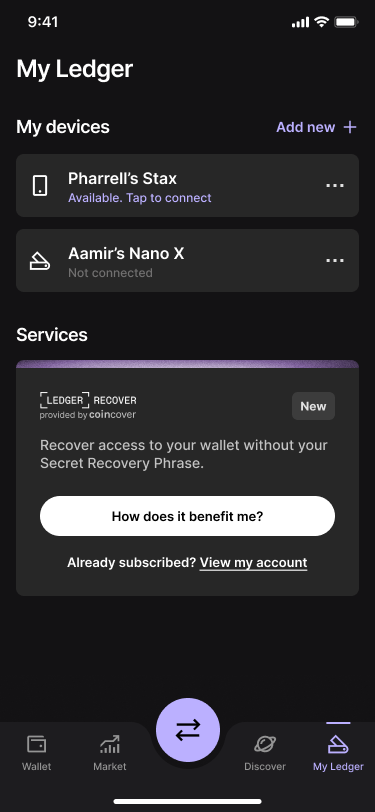
The ‘My Ledger’ tab in Ledger Live, showing a successfully connected device ready for app management and updates.
Phase 2: Device Setup and Initialization
Step 1: Install Ledger Live
Download and install the official Ledger Live desktop application from Ledger’s website. This is your companion app for managing your device, installing apps, and viewing your portfolio.
Step 2: Initialize Your Device and Set a PIN
- Connect your Ledger to your computer using the supplied USB cable. You’ll see “Welcome” on the screen.
- Follow the on-screen prompts (press both buttons to navigate).
- Select “Set up as new device.”
- Create a strong PIN code (4-8 digits). This PIN is required every time you connect your device. Choose one you will remember, but that is not easy to guess. There is no “forgot PIN” option.
Step 3: Write Down Your Secret Recovery Phrase
This is the single most important action in this guide. Your 24-word Secret Recovery Phrase (SRP) is the master key to all assets on that device. It must be handled with extreme care.
- Your device will display 24 words, one at a time, on its own screen.
- Use the Recovery Sheet included in the box. Write each word clearly and in the exact order it appears.
- Never digitize this phrase. No photos, no cloud notes, no typing it anywhere.
- The device will then ask you to confirm the phrase by selecting specific words. This verifies you recorded it correctly.

The portfolio overview in Ledger Live, showing asset allocation—your ultimate goal after a successful setup.
Step 4: Install Crypto Asset Apps and Add Accounts
- In Ledger Live, go to ‘My Ledger’.
- You’ll see a catalog of available apps (e.g., Bitcoin, Ethereum, Solana). Install the apps for the cryptocurrencies you plan to manage.
- Go to the ‘Accounts’ tab and click ‘Add Account’ for the installed app. Follow the prompts to generate your first receive address.
Phase 3: Understanding and Securing Your Recovery Phrase
The BIP-39 Standard Explained
Your Secret Recovery Phrase follows the BIP-39 industry standard. It converts complex cryptographic entropy into a human-readable list of words from a fixed 2048-word dictionary.
| Word Length | Entropy (Security Bits) | Typical Use Case | Security Level |
|---|---|---|---|
| 12 Words | 128 Bits | Most software wallets (MetaMask, Trust Wallet) | Extremely High. Brute-force is computationally impossible. |
| 24 Words | 256 Bits | Ledger, Trezor (Hardware Wallets) | Maximum theoretical security. The gold standard for cold storage. |
Why does Ledger use 24 words? It provides the highest possible entropy, future-proofing your security against any conceivable advances in computing power. While 12 words are secure enough for practical purposes, 24 words represent the uncompromising security standard for hardware wallets.
Best Practices for Long-Term Phrase Storage
- Physical is Paramount: Your primary backup should always be offline and physical.
- Consider a Metal Backup: Paper can burn or degrade. Investing in a cryptosteel or similar fire/water-resistant metal backup plate is highly recommended for long-term security.
- The Multi-Location Rule: Create at least two physical copies. Store them in separate, secure locations (e.g., a home safe and a bank safety deposit box). This protects against localized disasters like fire or flood.
Phase 4: Ongoing Maintenance and Usage
How and Why to Update Firmware
Regular firmware updates via Ledger Live are not optional; they patch security vulnerabilities and add new features and asset support.
- Connect your device and open Ledger Live.
- Navigate to ‘My Ledger’. A banner will notify you if an update is available.
- Click ‘Update’ and follow the on-screen instructions.
- Pro Tip: Before updating, always ensure you have your 24-word phrase accessible. While rare, a firmware update can sometimes require a device reset.
Funding Your New Cold Storage Wallet
With your Ledger set up, you’re ready to move funds from an exchange (a “hot” wallet) to your secure cold storage.
- In Ledger Live, go to the account you want to fund and click ‘Receive’.
- Connect your Ledger, open the corresponding app (e.g., “Bitcoin”), and verify the receive address on your device’s screen. This step is crucial to ensure no malware has altered the address on your computer monitor.
- Once verified, use that address as the destination for a withdrawal from your exchange.
Need an exchange to buy crypto? Learn how to choose a reputable platform and make your first purchase safely in our dedicated guide.
Read: The Beginner’s Guide to Choosing and Using a Cryptocurrency Exchange
Final Security Checklist
- Purchased directly from Ledger.com.
- Set a strong, memorized PIN.
- Wrote down the 24-word Secret Recovery Phrase by hand.
- Verified the phrase during device setup.
- Stored phrase copies in multiple, secure physical locations.
- Always verify receive and send addresses on the Ledger device screen itself.
- Keep Ledger Live and device firmware updated.
By following this guide, you have taken a monumental step toward true financial sovereignty. Your cryptocurrency is now under your control, secured by one of the most robust systems available to individuals. Welcome to self-custody.
Disclaimer: This guide is for educational purposes. Always refer to Ledger’s official documentation for the most current instructions. You are solely responsible for securing your recovery phrase and PIN.
Stay in the loop →
Powered by EverRank, and created by GalaxyBuilt
Get Weekly DeFi Alpha in Your Inbox
Weekly DeFi Alpha
56k+ traders getting my private newsletter every week
Join To Download our Ebook Free
Read Next_
Hot vs. Cold Wallet: Your Ultimate Guide to Storing Crypto Safely
Confused about how to hold your crypto securely? This beginner’s guide explains the difference between Hot (Software) and Cold (Hardware) wallets, why your Seed Phrase is sacred, and our top device recommendations for the Solana ecosystem.

How to Audit Smart Contracts on EVM and Solana
Why smart contracts need security checks and how the process works on both Ethereum (Solidity) and Solana (Rust). We break down the four key audit steps, the essential tools (Slither, Clippy, etc.), and what to look for to keep your DeFi funds safe.

How to Revoke Token Allowances on Ethereum, Arbitrum, & BSC
High-volume farming on EVM chains requires connecting to many protocols. Learn what an 'unlimited token allowance' is, why it's a security vulnerability, and the simple, multi-chain method using Revoke.cash to sever unwanted permissions and protect your Ethereum, Arbitrum, BSC, and Polygon funds.